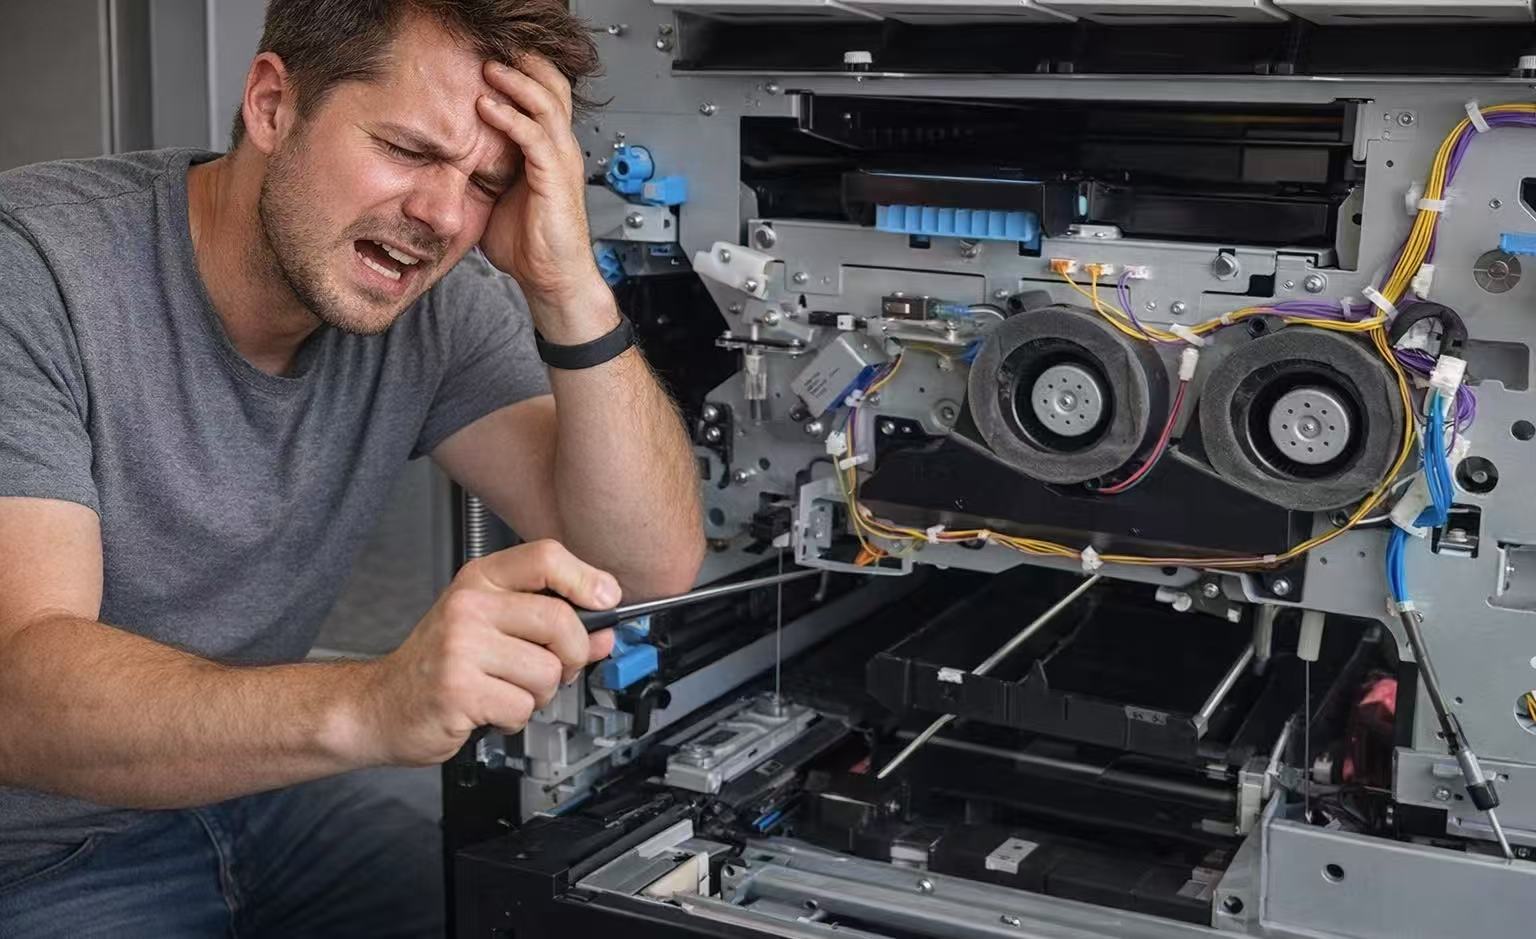
Steps for Using RISO Ink: A Detailed Step-by-Step Guide
Steps for Using RISO Ink: A Detailed Step-by-Step Guide
Replacing ink in a RISO digital duplicator requires the correct ink cartridge, proper installation, and careful handling of the print drum. Following the correct procedure helps prevent ink leakage, uneven ink distribution, and printing defects.
The following guide explains the ink replacement process, from preparing materials to performing a test print.

Step 1: Prepare the Materials and Check the Machine
Before replacing the ink cartridge, prepare the necessary supplies and confirm that the ink is compatible with your machine.
1.1 Prepare the Required Materials
Make sure you have the following items:
-
Compatible RISO Ink Cartridge: Select an ink cartridge designed for your specific machine model and printing drum.
-
Approved Printing Paper: Use paper within the machine's supported weight and size range.
-
Protective Gloves: Wear disposable gloves to prevent ink from staining your hands.
-
Cleaning Materials: Keep suitable cleaning materials nearby for accidental ink spills, following the manufacturer's recommendations.
1.2 Check the Machine Status
Before opening the machine:
-
Check the control panel for error messages or warnings.
-
Confirm that the machine has completed its current printing task.
-
Follow the manufacturer's instructions for entering the ink replacement position.
-
Make sure the machine is stable and that the work area is clean.
Important: Some RISO machines require specific procedures to access the ink cartridge. Do not force the drum or cartridge holder into position.
Step 2: Identify the Correct Ink Color and Cartridge Type
RISO printing systems use specialized ink cartridges that supply ink to the printing drum.
Using an incompatible cartridge may cause installation problems, ink leakage, or poor print quality.
2.1 Identify the Ink Color
Check the color label on the cartridge and compare it with the color assigned to the printing drum.
Common ink colors include:
| Ink Color | Common Name | Application |
|---|---|---|
| Cyan | C | Blue-green tones |
| Magenta | M | Pink and red tones |
| Yellow | Y | Yellow and warm tones |
| Black | K | Text and dark graphic elements |
| Fluorescent Pink | Spot Color | High-visibility graphic designs |
Some machines support additional spot colors, depending on the drum and ink system.
2.2 Verify Cartridge Compatibility
Before installation, check:
-
The machine model and supported ink series.
-
The cartridge identification label.
-
The ink color and corresponding drum position.
-
The cartridge's physical condition and packaging.
Technical term: Ink Compatibility
Ink compatibility refers to whether a specific ink formulation and cartridge design are suitable for a particular printing system.
Step 3: Open the Front Cover and Access the Ink Cartridge
Once the machine is ready, open the designated access panel to reach the ink cartridge holder.
3.1 Open the Access Cover
-
Locate the front access cover or designated maintenance panel.
-
Release the cover latch according to the machine's instructions.
-
Open the cover carefully without applying excessive force.
-
Identify the printing drum and the ink cartridge holder.
3.2 Identify the Main Components
Print Drum: The rotating component that carries the master stencil and distributes ink during printing.
Ink Cartridge Holder: The mechanism that secures the ink cartridge and supplies ink to the printing system.
Master Stencil: The perforated sheet wrapped around the drum that controls where ink passes through onto the paper.
The exact layout varies by machine model.
Step 4: Remove the Empty Ink Cartridge
Removing the old cartridge correctly helps prevent ink spills and damage to the cartridge holder.
4.1 Unlock the Cartridge
-
Locate the cartridge locking mechanism.
-
Release the lock using the method specified in the machine's manual.
-
Confirm that the cartridge is free to rotate or move.
Do not pull the cartridge out while it is still locked.
4.2 Rotate the Cartridge
-
Hold the cartridge firmly by its designated grip.
-
Rotate it in the direction indicated by the machine's markings.
-
On some models, this involves turning the cartridge counterclockwise.
-
Stop when the cartridge reaches its release position.
The direction and rotation angle depend on the machine model.
4.3 Remove the Cartridge
-
Support the cartridge with both hands if necessary.
-
Pull it straight out of the holder.
-
Keep the cartridge upright to minimize the risk of ink leakage.
-
Place the used cartridge in a suitable container for disposal or recycling according to local requirements.
Quality and safety tip: Avoid touching the ink outlet or exposed ink-covered components.
Step 5: Install the New Ink Cartridge
Correct cartridge installation is essential for reliable ink delivery and consistent print quality.
5.1 Remove the Protective Cap
-
Take the new ink cartridge out of its packaging.
-
Inspect the cartridge for visible damage or leakage.
-
Remove the protective cap or seal as directed by the manufacturer.
-
Avoid touching the ink outlet.
Some cartridges have specific preparation requirements. Follow the instructions supplied with the cartridge.
5.2 Align the Cartridge
-
Locate the alignment marks on the cartridge and holder.
-
Position the cartridge so that the marks match.
-
Check that the cartridge is oriented correctly.
-
Make sure the ink outlet is aligned with the receiving mechanism.
Technical term: Cartridge Alignment
Cartridge alignment refers to positioning the cartridge correctly so that its ink outlet connects properly with the machine's ink supply system.
5.3 Insert the Cartridge
-
Hold the cartridge in the correct orientation.
-
Slide it into the holder slowly and evenly.
-
Push it inward until it reaches the designated seating position.
-
Check that it is fully inserted and does not sit at an angle.
Do not force the cartridge if you encounter resistance.
5.4 Lock the Cartridge
-
Rotate the cartridge in the direction indicated by the machine.
-
On some models, this involves turning it clockwise.
-
Continue until the locking mechanism engages.
-
Confirm that the cartridge is securely installed.
A properly installed cartridge should sit firmly in its designated position without excessive movement.
Step 6: Close the Cover and Perform a Test Print
After installing the new cartridge, verify that the machine is ready for printing.
6.1 Close the Machine
-
Check that the cartridge is securely locked.
-
Confirm that no tools or packaging materials remain inside the machine.
-
Close the access cover carefully.
-
Make sure the cover is fully secured.
-
Follow the machine's startup or confirmation procedure.
If an error message appears, consult the machine's manual before proceeding.
6.2 Run a Test Print
Print a test page using the machine's recommended test-print procedure.
For a useful evaluation, choose a test image that includes:
-
Solid color blocks.
-
Fine lines and small text.
-
Halftone patterns.
-
Gradients or different tonal areas.
-
Multiple colors, if the machine supports them.
These elements help reveal common printing defects.
6.3 Inspect the Print Quality
Evaluate the test print using the following criteria:
| Inspection Item | What to Check | Possible Problem |
|---|---|---|
| Ink Density | Whether the printed color is sufficiently dark or saturated | Faded or overly dark printing |
| Ink Uniformity | Whether ink coverage is consistent across the page | Uneven ink distribution |
| Color Registration | Whether different color layers align correctly | Misaligned color layers |
| Ink Smudging | Whether ink transfers or smears on the paper | Smudging or ink offset |
| Fine Detail | Whether small text and thin lines remain clear | Blurred or missing details |
| Paper Condition | Whether paper feeds smoothly and remains flat | Paper jams or feeding problems |
If the print shows defects, check the machine's troubleshooting instructions before adjusting settings or replacing additional components.
Common Problems After Replacing RISO Ink
Even when a cartridge is installed correctly, printing problems can occur because of ink distribution, paper characteristics, drum condition, or machine settings.
1. Faded Printing
Possible causes:
-
Ink has not distributed evenly through the system.
-
The cartridge is not correctly seated.
-
The drum or master stencil requires inspection.
-
The selected print settings are unsuitable.
Recommended action: Check the cartridge installation and follow the manufacturer's troubleshooting procedure.
2. Uneven Ink Coverage
Possible causes:
-
Ink distribution is inconsistent.
-
The master stencil is damaged or obstructed.
-
The paper surface affects ink transfer.
Recommended action: Inspect the test print and check the drum and master according to the machine's maintenance instructions.
3. Ink Smudging
Possible causes:
-
Ink has not dried sufficiently.
-
The paper is unsuitable for the printing process.
-
Ink coverage is excessive for the selected paper.
-
The machine's operating conditions are unsuitable.
Recommended action: Check paper compatibility, allow adequate drying time, and review the machine's recommended print settings.
4. Cartridge Installation Error
Possible causes:
-
The cartridge is incompatible with the machine.
-
The cartridge is not fully inserted.
-
The locking mechanism is not engaged.
-
The cartridge is installed in the wrong position.
Recommended action: Follow the manufacturer's instructions to check cartridge compatibility, alignment, and locking.
Best Practices for RISO Ink Handling
To maintain consistent printing performance and reduce the risk of ink-related problems, follow these practices:
-
Use compatible ink: Always select ink designed for your machine model and printing drum.
-
Store cartridges properly: Follow the manufacturer's storage recommendations and avoid excessive heat or direct sunlight.
-
Handle cartridges carefully: Avoid dropping cartridges or damaging their seals and outlets.
-
Keep the work area clean: Prevent dust and foreign materials from entering the cartridge holder.
-
Inspect print quality regularly: Check ink density, uniformity, and registration during production.
-
Follow maintenance guidelines: Perform cleaning and maintenance only as recommended by the manufacturer.
Conclusion
Replacing RISO ink involves six main stages: preparing the materials, checking ink compatibility, accessing the cartridge holder, removing the empty cartridge, installing the new cartridge, and verifying print quality.
Correct cartridge alignment, secure installation, and a thorough test print are essential for maintaining consistent ink delivery and reliable printing performance.
Because RISO machines use different cartridge and drum designs, always follow the operating instructions for your specific model.
Understanding Riso Printing: Working Principle & Process
Related Article